Deployment with Wercker
Goals
By the end of this guide, you will have completed the following:
- Creating a basic Hugo project and website
- Version controlling your project with Git
- Adding your project to GitHub
- Automating site deployments with a free tool called Wercker
- Deploying your website to GitHub Pages for free hosting
Assumptions
- You have a working familiarity with using Git for version control
- You have a GitHub account
- You have already created a basic Hugo project
If you do not meet these assumptions, the GitHub help section has an explanation of how to install and use git. Signing up for a GitHub account is free as well. If you are completely unfamiliar with creating a new Hugo website, visit the Hugo Quick Start .
Create a Basic Hugo Site
First, create your new Hugo website using the
hugo new site command
and change into the newly created directory for the project. In this guide, we are calling our new project hugo-wercker-example:
hugo new site hugo-wercker-example
cd hugo-wercker-example
We will use the
Herring Cove theme
by first cloning the theme into the themes directory.
cd themes
git clone https://github.com/spf13/herring-cove.git
Cloning the project from the command line will conflict with our own version control. So, we need to remove the external git configuration that came with the clone of Herring Cove:
rm -rf herring-cove/.git
We need content for Hugo to build. Let’s add a quick /about page:
hugo new about.md
Now you can edit contents/about.md in your text editor of choice, but this is not necessary for the purposes of this guide. Running the following command will build your Hugo site into the public directory.
Once the website is build, it’s a good idea to run the following command to start a local server and ensure you’re changes have been implemented:
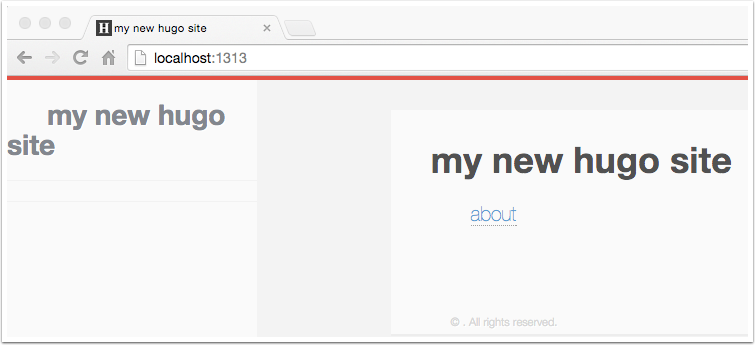
hugo server --theme=herring-cove
If everything is fine, you should see something similar to the image below when you go to http://localhost:1313 in your browser.
Set up Version Control in Git
Adding Git to your project is done by running the git init command from the root directory of your project.
git init
Running git status at this point will show you the following entries: the config.toml file, the themes directory, the contents directory, and the public directory. However, we don’t want the public directory version controlled because Wercker is responsible for generating the finished website later on. Therefore, we’ll add a .gitignore file to our project that will exclude the /public directory from being tracked by Git:
echo "/public" >> .gitignore
Wercker might complain when we try to build the site later on because we currently do not have any static files outside of the themes directory. We simply have to add any file to the static folder to prevent Wercker from complaining. To keep this guide simple, let’s add a robots.txt. The following command creates the file in /static. The contents of the robots.txt lets search engines know they have full access to crawl the published website:
echo "User-agent: *\nDisallow:" > static/robots.txt
Now we need to add (i.e., stage [see Git documentation] ) and commit all of our changes in the repository into Git:
git commit -a -m "Initial commit"
Add the Project to GitHub
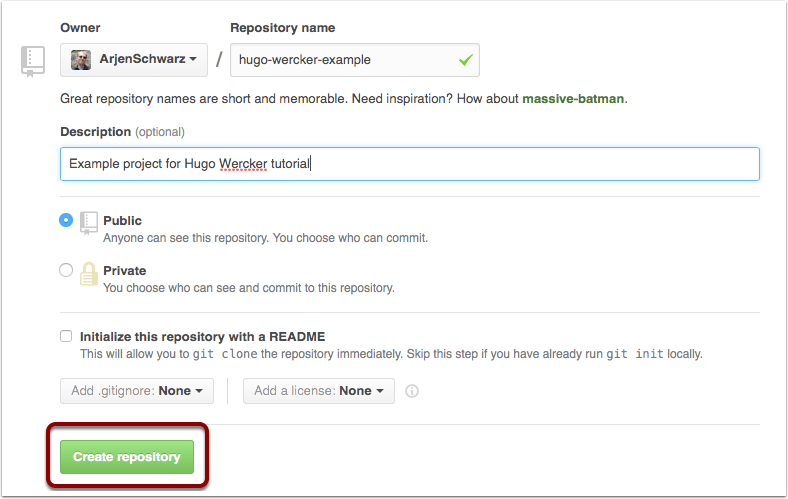
Now we need to create a new repository on GitHub. Once you are signed in to GitHub, you can add a new repository by clicking on the +▼ dropdown at the top right or by going to https://github.com/new ..
We then choose a name for the project (hugo-wercker-example). When clicking on create repository GitHub displays the commands for adding an existing project to the site. The commands shown below are the ones used for this site, if you’re following along you will need to use the ones shown by GitHub. Once we’ve run those commands the project is in GitHub and we can move on to setting up the Wercker configuration. Be sure to replace YourUserName with your GitHub account/username:
git remote add origin git@github.com:YourUsername/hugo-wercker-example.git
git push -u origin master
Set Up Wercker
To sign up for a free Wercker account, go to https://www.wercker.com and click the Sign Up button on the top right of the home screen.

Register for Wercker with Your GitHub Account
Sign up for Wercker using your GitHub credentials. If you don’t have a GitHub account, or don’t want to use it for your account, you have the option to register with a username and password as well. However, the second half of this guide—devoted to hosting your website on GitHub pages—will no longer be of interest to you.

Connect GitHub or Bitbucket
After you are registered, you will need to link your GitHub or Bitbucket account to Wercker. You can link your account by navigating to your profile settings and then selecting “Git connections.”

If you registered for Wercker using GitHub, it will most likely look like the following image. To connect a missing service, click the Connect button, which may send you to either GitHub or Bitbucket to sign into your respective account.

Add Your Project
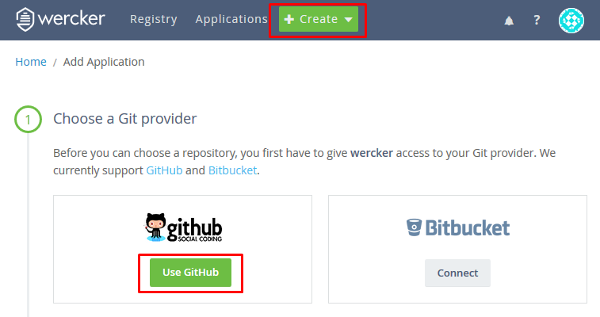
Now that we’ve got all the preliminaries out of the way, it’s time to set up our application. For this we click on the + Create button next to Applications and choose GitHub as our provider.
Select a Repository
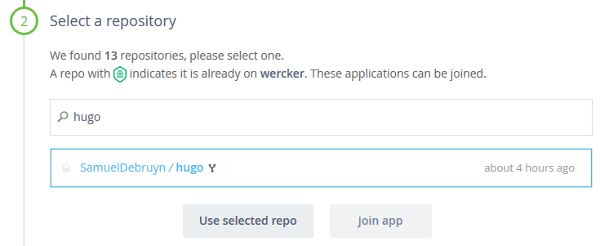
When selecting GitHub, Wercker will show all your GitHub repositories. You have the option to filter repositories using the search input at the top of the repositories list. Once you have your repository selected, click the Use selected repo button.
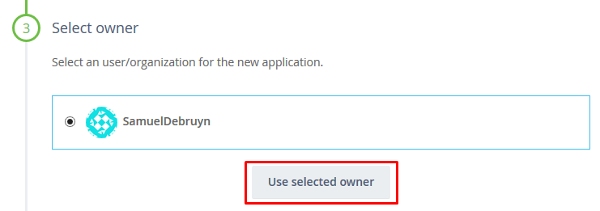
Select the Repository Owner
In the next step, Wercker asks you to select the repository owner. Select your GitHub account and continue.
Configure Access
This step can be slightly tricky. Wercker does not have privileges to check out your private projects by default and therefore needs your permission to add a deploy key to your repository. By selecting the first option, you’re simply allowing Wercker to check out the code via the same methods available to anyone visiting the project on GitHub.

Wercker.yml
Wercker will now attempt to create an initial wercker.yml file for you. More specifically, it will create a code block within the Wercker interface that you can copy to your finished file. Wercker gives us a debian box because our project does not have any special requirements.
Now we need to create a wercker.yml file in the root of our project. This file will contain our Wercker app’s configuration. After we finish setting up our app, we will expand the contents of this file to build and deploy our website.

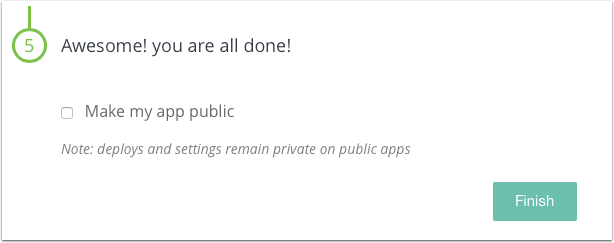
Public or Private
This is a personal choice. You can make an app public so that everyone can see more details about it. Keeping it private or public does not provide any overt benefits for you as the creator of the app. That said, the app we are currently creating has been made public to facilitate easier usage of this hosting and deployment guide.
App Successfully Created
The application is now added and Wercker will offer you the chance to trigger a build. However, we will decline the offer because we haven’t yet pushed our wercker.yml file to our GitHub repository.

Add the Hugo-build Step
Now we need to add the Wercker steps to our build process. First, we go to the “Registry” action in the top menu. When in the registry, we can search for “hugo build”. Select the “Hugo-Build by arjen” step.

Use the Hugo-build Step
A summary of very basic usage is available at the top of the details for the Hugo-Build step. Below the basic usage is the contents of the README.md file associated with the step’s repository. README.md’s on Wercker usually contain more details about the advanced options and examples of usage.
We’re not going to use any of the advanced features of Hugo-Build in this guide. Let’s return to our project and add the first section of details we need to our wercker.yml.
box: debian
build:
  steps:
    - arjen/hugo-build:
        version: "0.17"
        theme: herring-cove
        flags: --buildDrafts=true
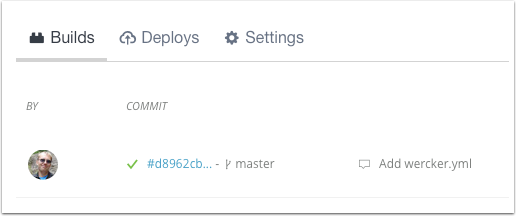
We can conclude this first step by pushing our wercker.yml to our GitHub repository and then seeing the magic at work within Wercker’s interface.
git commit -a -m "Add wercker.yml"
git push origin master
If completed and successful, a green check mark should appear in the commit column of your first build. However, this is only the build step. We still need to deploy the website to our free hosting on GitHub Pages. If you would like more details about the build, you can click the commit hash.
Add a GitHub Pages Deploy Step to wercker.yml
In order to deploy to GitHub Pages, we need to add a deploy step to our wercker.yml. We are going to add lukevevier/gh-pages, the most popular GitHub Pages step in the Wercker Steps repository. Additionally, we need to ensure the box Wercker uses for our deployments has git and ssh installed. We can do this using the install-packages command. Here is our final wercker.yml file:
box: debian
build:
  steps:
    - arjen/hugo-build:
        version: "0.17"
        theme: herring-cove
        flags: --buildDrafts=true
deploy:
  steps:
    - install-packages:
        packages: git ssh-client
    - lukevivier/gh-pages@0.2.1:
        token: $GIT_TOKEN
        domain: hugo-wercker.ig.nore.me
        basedir: public
How does the GitHub Pages Configuration Work?
We’ve provided a some important information in our wercker.yml. First, we’ve added the domain we want to use for our published website. Configuring the domain here will ensure that GitHub Pages is aware of the domain we want to use.
Secondly, we’ve configured the basedir to public. This is the directory that will be used as the website on GitHub Pages. public is also the default publishing directory in Hugo. (For more information, see
hugo’s configuration docs
).
Lastly, you’ll notice a $GIT_TOKEN variable. This is used for pushing our changes to GitHub. We will need to configure this token before Wercker can build our website.
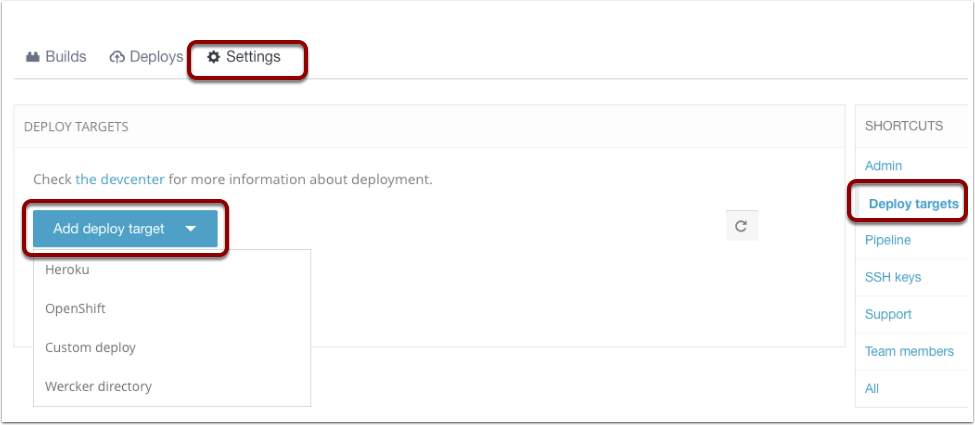
Set the App’s Deploy Target
We can set our deploy target by going to our app’s settings and clicking on Deploy targets. Now select Add deploy target and then Custom deploy.
Configure the Deploy Step in Wercker
The next screen requires you fill in the deploy target name.
- Make sure you enable auto deploy from the master branch.
- Add a variable for the GIT_TOKEN. You’ll need to create an access token in GitHub. Follow the directions in GitHub help .
- With the deploy step configured in Wercker, we can push the updated wercker.yml file to GitHub and it will create the GitHub pages site for us.
The website described in this guide is available at http://hugo-wercker.ig.nore.me .

Conclusion
Once this workflow is established, you can update your website automatically by pushing any content changes to your GitHub repository.
Code for the Wercker Deployment Guide
The source code for the site used in this guide is available on GitHub , as is the Wercker Hugo Build step .